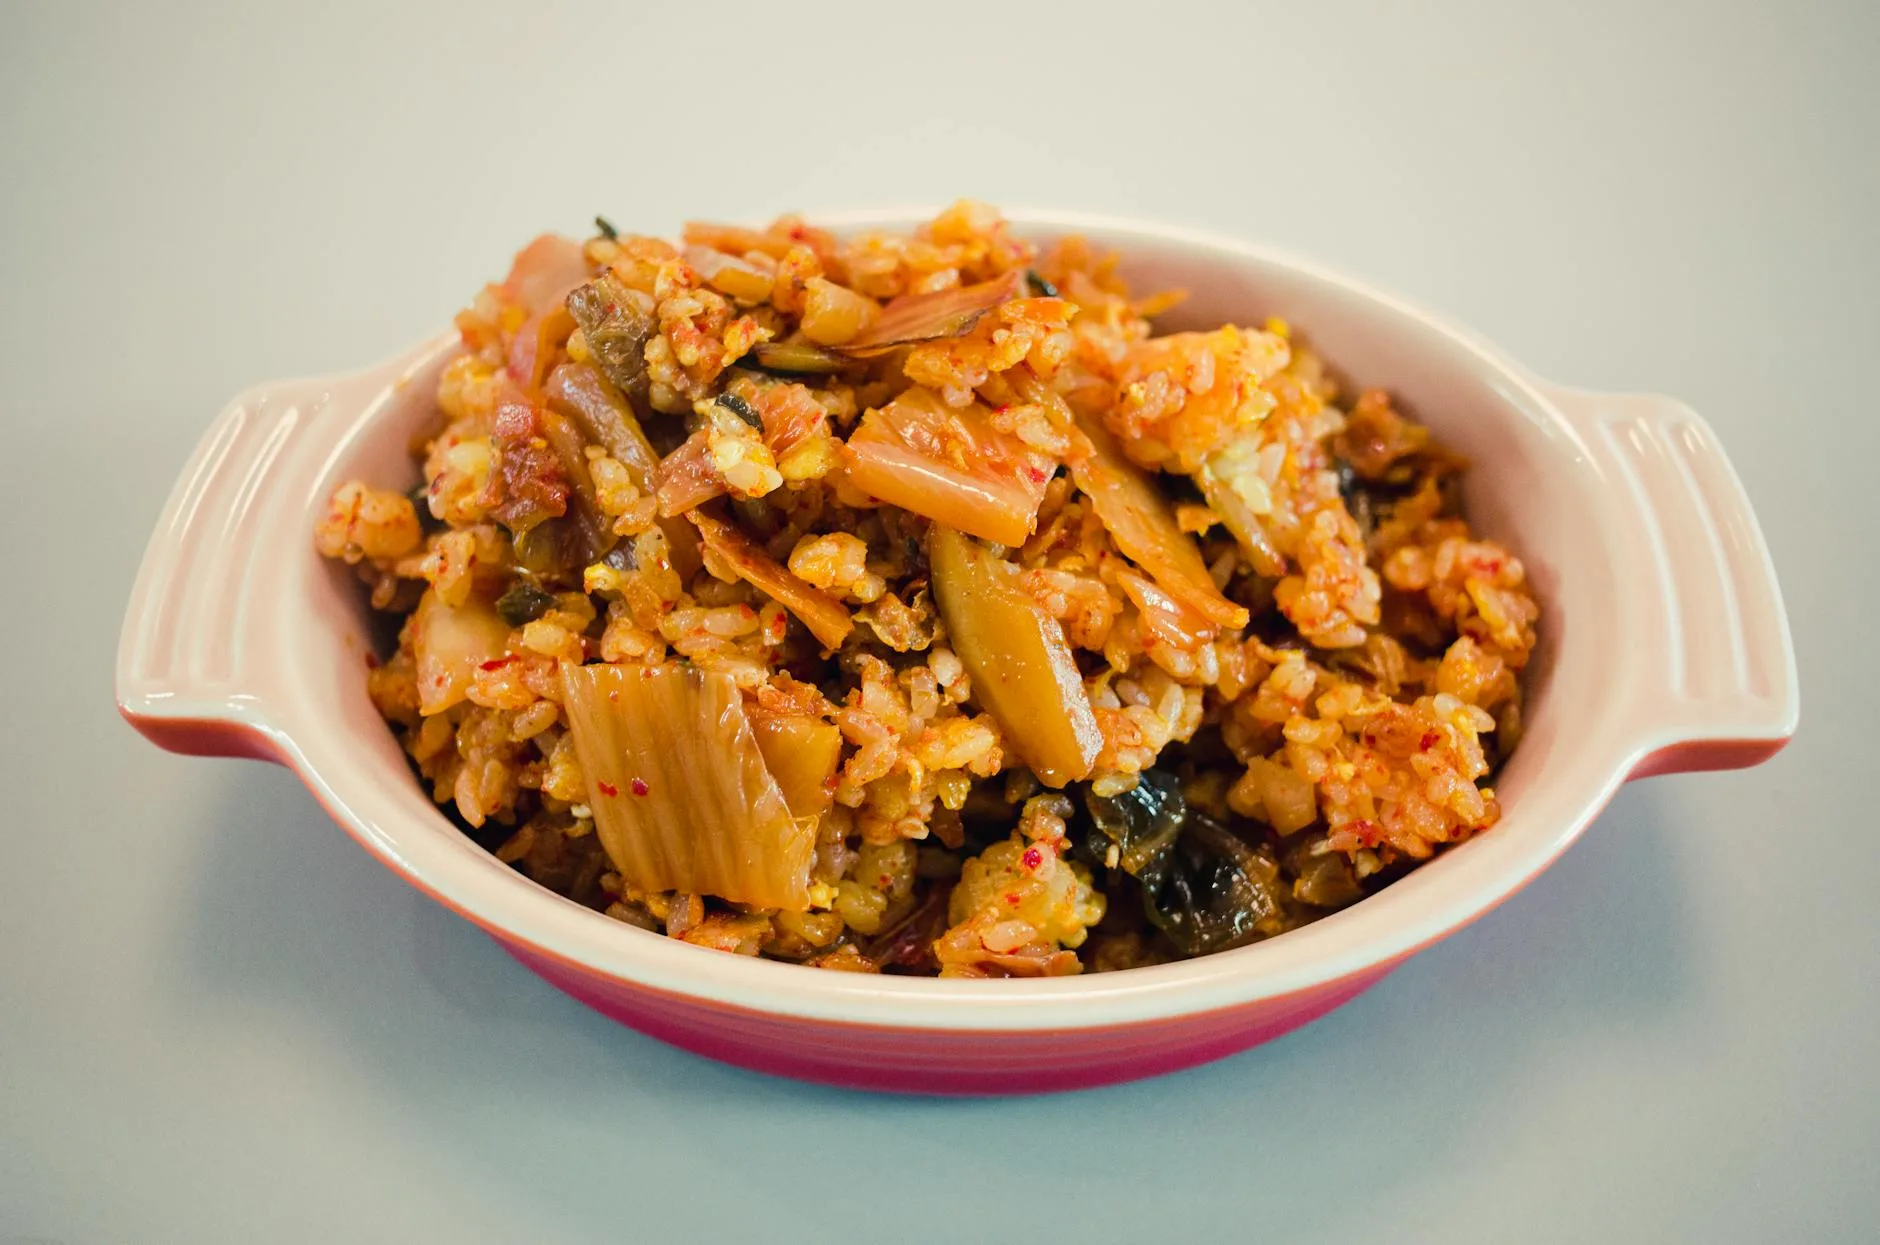
Kimchi Fried Rice with Black Garlic
Kimchi fried rice (kimchi bokkeumbap) is one of the best ways to use up leftover rice and kimchi that has turned properly sour. This version adds black garlic, which melts into the oil and gives the rice a deep, sweet, almost balsamic savouriness alongside the tang and heat of the kimchi. It’s topped with a fried egg whose runny yolk becomes part of the sauce. The whole thing takes about 20 minutes, and most of that is chopping.
Serves 3–4. Allow 10 minutes of prep and 10–12 minutes of cooking.
Kimchi bokkeumbap at home
In Korea, kimchi fried rice is everyday home cooking rather than restaurant food. It’s what you make when the kimchi in the fridge has fermented past its best for eating raw and there’s cold rice left from yesterday. The older and sourer the kimchi, the better the fried rice, because cooking softens the sharpness into a deep, rounded tang. It’s commonly finished with a fried egg, sesame and crumbled seaweed, and many families add a little Spam, bacon, tuna or pork.
Ingredients
Fried rice
- 600 g (4 cups) cooked short- or medium-grain rice, cold, preferably a day old
- 200 g (1 ⅓ cups) well-fermented cabbage kimchi, chopped, plus 3 tbsp (45 ml) kimchi juice
- 2 tbsp (30 ml) neutral oil
- 15 g (1 tbsp) butter (optional)
- 4 spring onions, whites and greens sliced separately
- 2 garlic cloves, finely chopped
- 4–5 cloves black garlic (about 20 g), mashed to a paste
- 1 tbsp (17 g) gochujang (Korean chilli paste), optional
- 1–2 tsp gochugaru (Korean chilli flakes), optional
- 1 tbsp (15 ml) soy sauce, plus more to taste
- 1 tsp sugar, if the kimchi is very sour
- 2 tsp (10 ml) toasted sesame oil
Toppings
- 3–4 large eggs, one per person
- 1 tbsp (15 ml) neutral oil, for the eggs
- 1 tbsp toasted sesame seeds
- 1 sheet roasted seaweed (gim), crumbled, or seasoned seaweed snacks
- A little extra kimchi, to serve on the side
About the key ingredients
Kimchi. Use napa cabbage kimchi that tastes noticeably sour, ideally a few weeks old. Freshly made kimchi is crunchy and mild and gives a flatter result. The juice from the jar is full of flavour, so add it too. Brands vary a lot in salt and heat, so season at the end.
Black garlic is whole garlic held at a warm temperature, around 60–80°C (140–175°F), in a humid environment for several weeks. The cloves turn black, soft and sticky, and taste sweet and savoury, with notes of molasses, tamarind and balsamic vinegar. The change is caused by slow browning reactions, not fermentation, although it’s often labelled “fermented”. It’s sold in supermarkets, health food shops and online. If you can’t find it, leave it out and add an extra clove of fresh garlic and ½ tsp dark soy sauce for colour and depth.
Rice. Cold, day-old rice is drier and firmer, so the grains separate and fry rather than turning mushy. Korean cooks typically use short-grain rice. Medium-grain and jasmine rice work too. If you have to cook rice the same day, spread it on a tray and refrigerate it uncovered for at least an hour.
Gochujang and gochugaru add heat, colour and a little sweetness. Use one, both or neither, depending on how spicy your kimchi already is.
Method
- Prepare everything first. Chop the kimchi into bite-size pieces. Break up any clumps of rice with your hands. Mash the black garlic with a fork. Mix the gochujang, if using, into the kimchi juice.
- Cook the aromatics. Heat the oil and butter, if using, in a large frying pan or wok over medium-high heat. Add the spring onion whites and fresh garlic and stir for 30 seconds, until fragrant. Add the black garlic and press it into the oil for 20–30 seconds, until it melts into a dark paste.
- Fry the kimchi. Add the chopped kimchi and gochugaru, if using. Stir-fry for 3–4 minutes, until the kimchi softens, the edges start to caramelise and the pan smells toasty.
- Add the rice. Add the rice and toss to coat it in the kimchi mixture. Pour in the kimchi juice and gochujang, then spread the rice out and leave it for 1 minute to toast on the bottom. Toss and repeat two or three times over 4–5 minutes, until the rice is hot all the way through and has a few crisp golden bits.
- Season. Drizzle the soy sauce around the edge of the pan, so it sizzles before it hits the rice, and toss. Taste and add more soy sauce, or the sugar if it’s very sour. Turn off the heat and stir in the sesame oil and spring onion greens.
- Fry the eggs. In a separate non-stick pan, heat the oil over medium heat and fry the eggs until the whites are set and lacy at the edges but the yolks are still runny, 2–3 minutes.
- Serve. Divide the rice between bowls, top each with an egg and finish with sesame seeds and crumbled seaweed. Break the yolk and stir it through the rice as you eat.
Getting crisp, separate grains
Two things make the difference: dry rice and a hot pan that isn’t overloaded. A home hob can handle about four portions in a large frying pan or wok. Pressing the rice down and leaving it undisturbed for a minute at a time gives those crisp, toasted edges that make fried rice so good. Many Korean cooks deliberately leave a thin crust on the bottom of the pan at the end, like the crust in a stone-pot bibimbap, and scrape it up to share.
Common mistakes
- Freshly cooked, hot rice. It clumps and goes soggy. Use cold rice.
- Too much kimchi juice. A little adds flavour; too much makes the rice wet. Stick to about 3 tablespoons.
- Burning the black garlic. It’s already cooked and full of sugar. Warm it briefly in the oil; don’t fry it hard.
- Seasoning too early. Kimchi and gochujang are both salty. Taste before adding soy sauce.
A note on kimchi and health
Kimchi is a fermented food, and raw kimchi contains live lactic acid bacteria. Frying it heats it far beyond the temperature those bacteria can survive, so you shouldn’t count on live cultures from cooked kimchi fried rice. If that’s something you’re interested in, serve a little raw kimchi on the side. Enjoy this dish for its flavour, which is reason enough.
Variations and add-ins
- Pork or bacon: fry 150 g (5 oz) diced pork belly, bacon or Spam until crisp before the aromatics, and use the rendered fat instead of oil.
- Tuna: stir in a drained 145 g (5 oz) can of tuna with the rice.
- Vegetables: add a diced carrot and a handful of frozen peas with the kimchi.
- Cheese: scatter grated mozzarella over the rice, cover for a minute to melt, and serve, as many Korean restaurants do.
- Scrambled egg: if you’d rather not have runny yolks, push the finished rice to one side of the pan, scramble 3 beaten eggs in the space until just set, then fold them through in large pieces.
- Fresh garlic only: without black garlic, the dish is still good. Use 4 fresh cloves and add the sugar to balance the sourness.
- Vegan: check your kimchi, as many brands contain fish sauce or salted shrimp. Skip the butter and egg and add crisp pan-fried tofu.
Storage and reheating
Kimchi fried rice is best fresh, but leftovers are good. Cool them quickly and refrigerate within an hour, as cooked rice shouldn’t sit at room temperature for long. Eat within 1 day. Reheat in a hot pan with a few drops of oil, pressing the rice down to crisp it again, until steaming hot throughout. Fry fresh eggs rather than reheating them.
What to serve with it
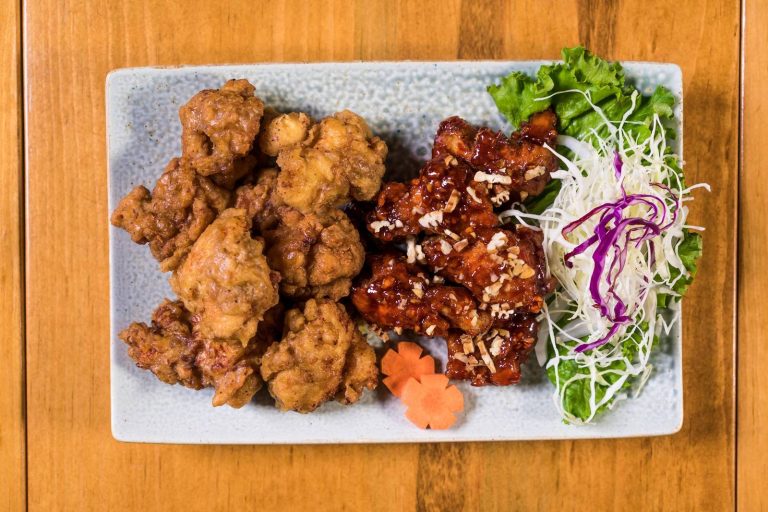
It’s a complete meal in a bowl, but a simple soup, such as a light seaweed or soybean paste soup, a cucumber salad or a few banchan (side dishes) make it more of a spread. For a bigger Korean-inspired dinner, pair it with our Korean bulgogi beef bowl or our crispy Korean fried chicken.
Can’t find gochujang? Our world pantry guide lists the closest swaps.
Kimchi Fried Rice with Black Garlic
Ingredients
Fried rice
- 600 g (4 cups) cold cooked short- or medium-grain rice
- 200 g (1 ⅓ cups) well-fermented cabbage kimchi, chopped, plus 3 tbsp (45 ml) kimchi juice
- 2 tbsp (30 ml) neutral oil
- 15 g (1 tbsp) butter (optional)
- 4 spring onions, whites and greens sliced separately
- 2 garlic cloves, finely chopped
- 4–5 cloves black garlic (about 20 g), mashed
- 1 tbsp (17 g) gochujang (optional)
- 1–2 tsp gochugaru (optional)
- 1 tbsp (15 ml) soy sauce, plus more to taste
- 1 tsp sugar, if the kimchi is very sour
- 2 tsp (10 ml) toasted sesame oil
Toppings
- 3–4 large eggs
- 1 tbsp (15 ml) neutral oil
- 1 tbsp toasted sesame seeds
- 1 sheet roasted seaweed (gim), crumbled
- extra kimchi, to serve
Instructions
- Chop the kimchi, break up the rice, mash the black garlic and mix the gochujang into the kimchi juice.
- Heat the oil and butter over medium-high heat. Fry the spring onion whites and garlic for 30 seconds, then the black garlic for 20–30 seconds.
- Add the kimchi and gochugaru and stir-fry 3–4 minutes until softened and lightly caramelised.
- Add the rice and the kimchi juice mixture. Toss, then press down and leave 1 minute at a time to toast, for 4–5 minutes total, until piping hot.
- Season with soy sauce (and sugar if needed), then stir in the sesame oil and spring onion greens.
- Fry the eggs in a separate pan until the whites are set and the yolks runny.
- Serve the rice topped with an egg, sesame seeds and seaweed.
Notes
- Use cold, day-old rice and sour, well-fermented kimchi.
- No black garlic: use 4 fresh garlic cloves and ½ tsp dark soy sauce.
- Many kimchi brands contain fish sauce or shrimp; check the label for a vegetarian or vegan version.
- Cooking kills the live bacteria in kimchi. Serve some raw kimchi on the side if you want them.
- Refrigerate leftovers within an hour and eat within 1 day.
Photo: makafood on Pexels